
Tender Bed
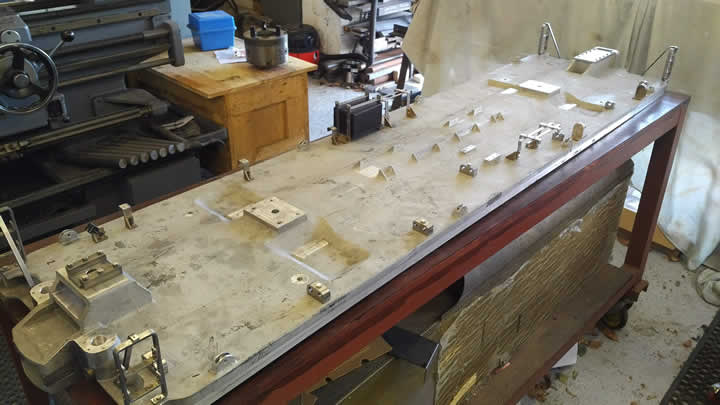
The tender bed casting had been machined in Las Vegas by Bruno Platzer, from there all the parts that basically hang off the tender needed to be made and fitted prior to painting. The bed is a superb one piece aluminum casting supplied by Jim Kreider.
.jpg)
Tender Bed
So first job was to make the brackets for the tool box and re-railing frogs. As bending material is not my strong suite i decided to CNC out all the pieces .
.jpg)
I then drilled holes into the plate to allow me to saw into them and separate out the various parts
.jpg)
.jpg)
Face to width
Each leg was then held in the mill vice and faced off to the correct thickness and the edges were de burred
.jpg)
Drilling holes
Using a variety of clamping methods the various holes were drilled for the rivets and bolts
.jpg)
Riveting jig
Each of the brackets fitted on to the bed with a casting , the castings were first riveted onto the legs then a jig was made to hold the legs at the right spacing. Then the basket legs were marked out and drilled through for a 1/16th rivet into the legs.
.jpg)
Brackets
The two re-railer carriers and the tool box carrier ready to bolt to the bed to the bed. Next job was to make u the pipe clamps for the air pipes. These are available as a casting but i decided they would give me a good opportunity to try out tome 3D surface milling on the Tormach The clamps came in two variety's, 2 pipe and single pipe.
.jpg)
Basic shape milled
.jpg)
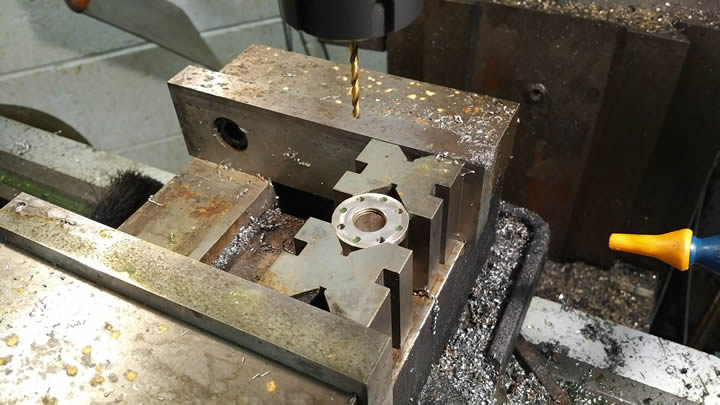
Using a 5mm ball mill to machine the contour, step down was 0.001"
.jpg)
Resulting finish
.jpg)
Facing blocks to size
.jpg)
Jig for cross drilling the tube clamp holes
.jpg)
Completed 2 tube clamps
.jpg)
Similar set up to produce the single pipe clamps
Next job was to tackle the coupler, the original design called for a set of draft gear from a secondary supplier who is no longer in production. So the mounting of the coupler needed to be modified to a single shank pin. As the support from the original design keeping the coupler central in the pocket was no longer there I needed to add a block to give a better way to locate the coupler shank vertically. This also meant that the top cover also needed additional material on it to reduce the vertical movement.
What I also found was the spring block in the coupler was easily misaligned so I made a new block to help in keeping the spring and block from twisting out.
.jpg)
Turning up the boss on the new spring block
.jpg)
Cross drilling the new spring block
.jpg)
The new spring block with bosses inside the coil spring with the old plain end one to the left on the shank
.jpg)
Bottom spacer block
.jpg)
Bottom spacer block and top block with additional material left on the inside to centralise the coupler shank Once the bottom space block was fitted to the bed the top plate was temporarily fitted so a 3/8" cross hole could be drilled for the shank locating pin..
Next job was to start fitting out the bed with all the brackets and bit that hang on it. So the first things added were the two water take off valves on the front. Although not hard to make they were very fiddly to fit as I don't have scale fingers.
Drilling the holes in the water leg barrel
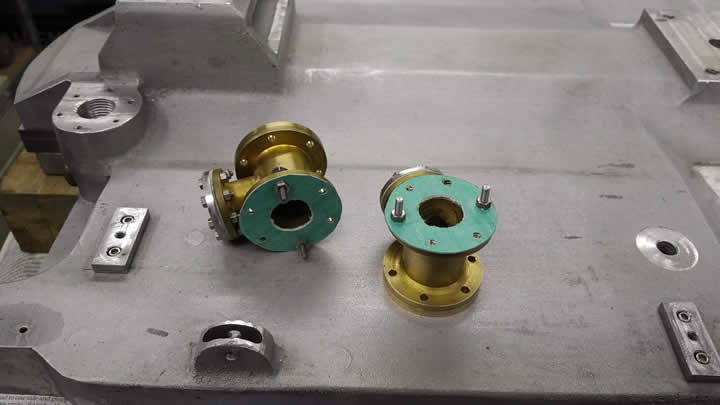
Making up the gaskets
The two legs in place the hose tails are 1/2" bore.
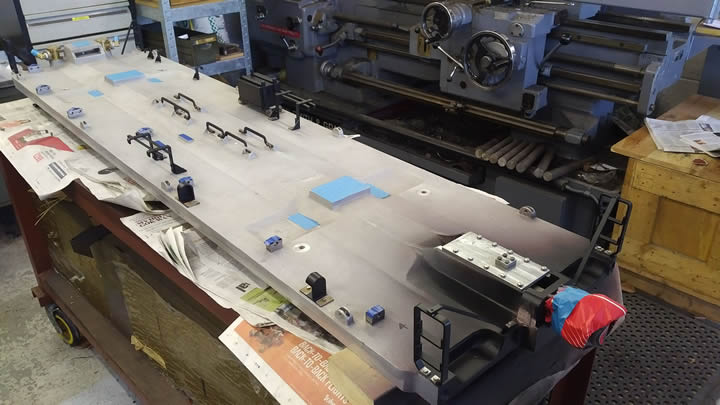
Next job was adding the poling pockets, re-railer brackets and steps. Once they had been fitted i decided to take them off and paint them first. Then re fit them to the bed so when i came to paint the bed the majority of work would be down hand. Any over spray could be touched up and pre-painting them meant i had less chance of missing the underneath of the various brackets.
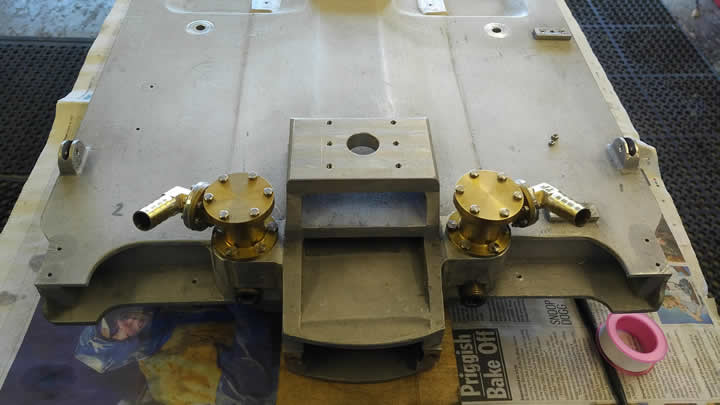
Rear steps in place
In the picture above as well as the rear steps you can also see the single air pipe clamp just to the left and the completed modified coupler pocket pin arrangement
All the steps and brackets fitted
All the brackets with grey primer applied
The brackets were then refitted and painting of the bed could start
Masking applied for tuck bolsters and brake parts
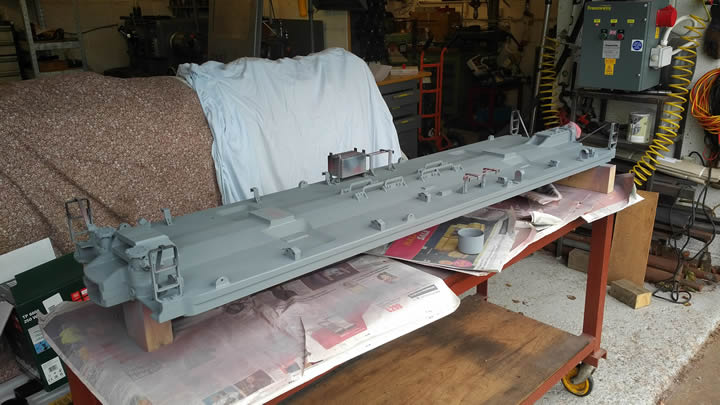
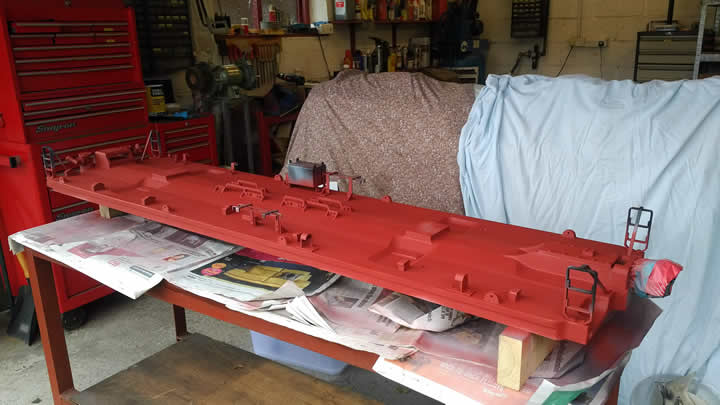
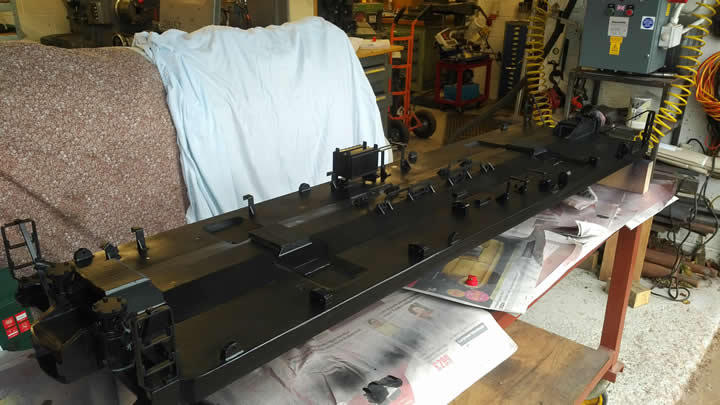
Three shots of the undercoats and top coats being applied
Next job on the tender was to fit the trucks and brake linkage and pipe work
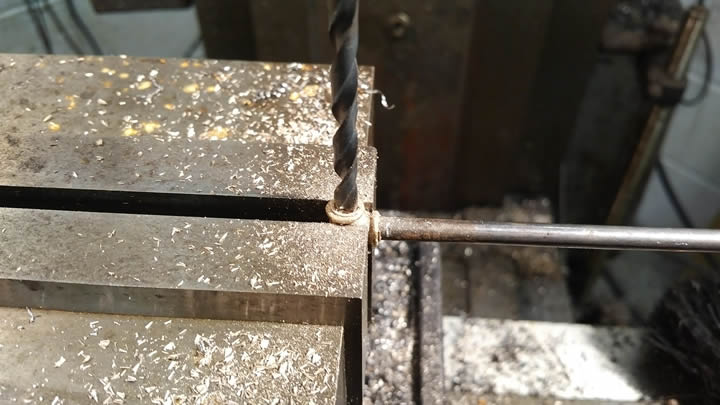
Drilling out the 1/4" pipe elbows
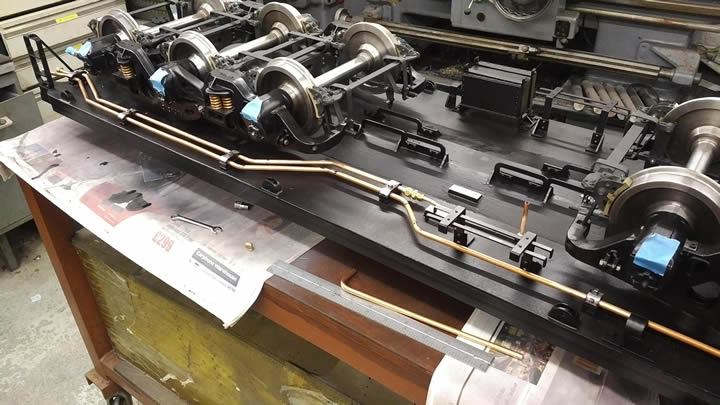
Pipework in place
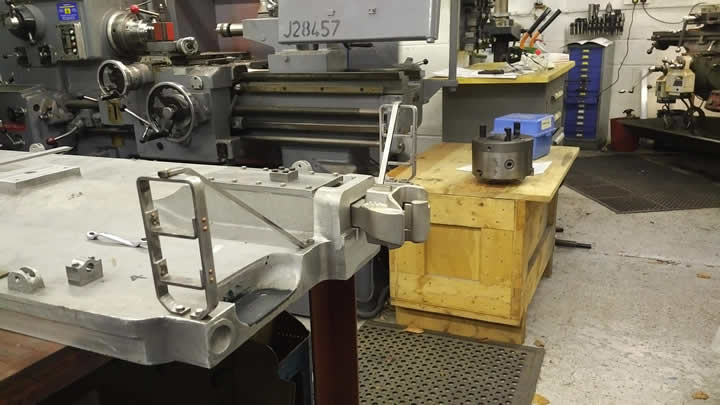
Once the pipework had been painted and the brake linkage had been tested the last job to do was to turn the bed over. This for the moment is all i am doing on the bed next job will be starting on the tender tank.
Turning the tender bed