
Boiler
There wont be that much construction detail on the boiler as its being farmed out. To keep the cost down I decided to make some of the parts for it though so a few snaps of what has been done so far.
The boiler uses a steam collector not the more common pipe up into the steam dome so I offered to make the front flange for the collector which will eventually become part of the superheating element. As it will supply the wet steam to the superheater header. To do this I purchased the 16mm material for the front tube plate and also material for the flange. The flange was a straight forward turning operation although I have not done any of the hole machining yet. As it will be easier to steam test solid
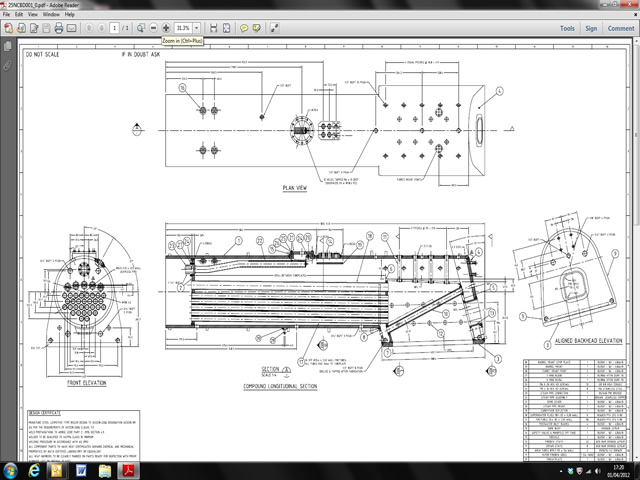
The boiler drawing showing the steam collector pipe and front flange.
Front tube plate and flange
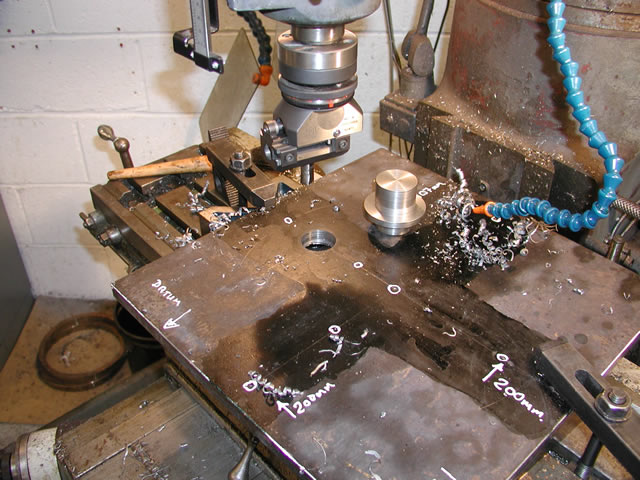
First job was to mark out the tube plate and drill the hole for the flange. I then bored the hole out to take the flange .
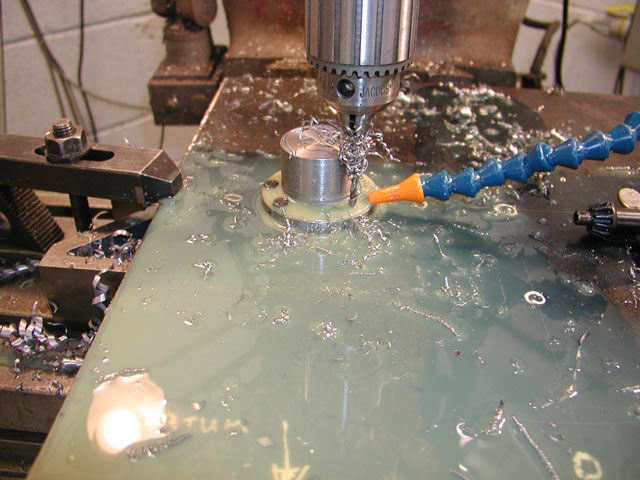
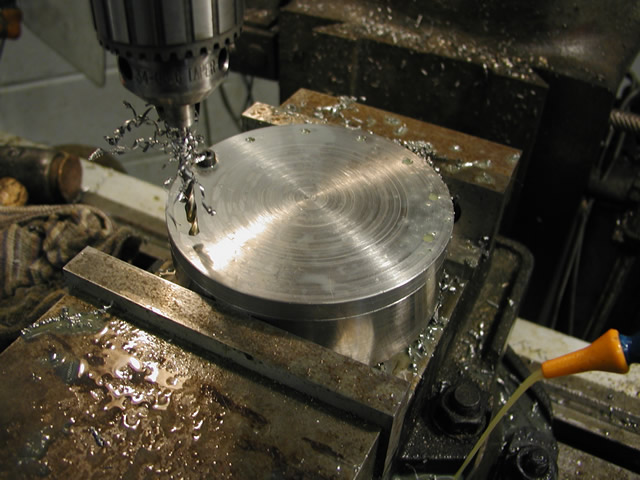
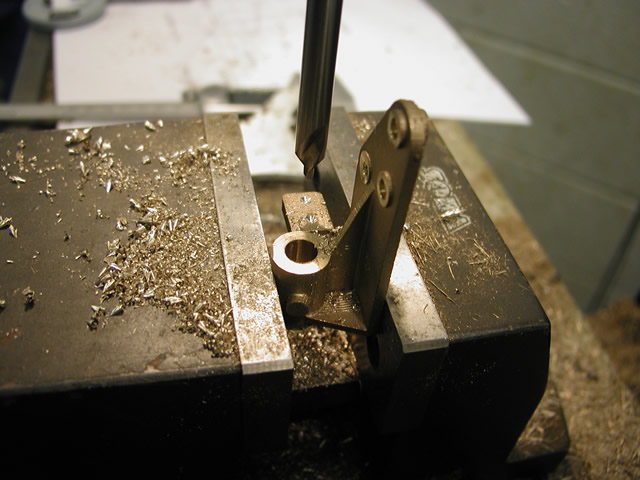
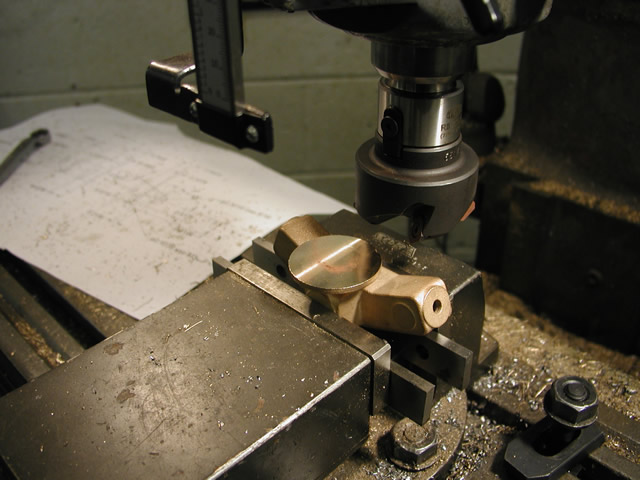
Drilling the flange
Next job was to fit the flange and match drill it for the stainless steel Allen screws. To do this I used the PCD function on the DRO. I had never done this before but it turned out to be a doddel and its well worth using if you have not done it before.
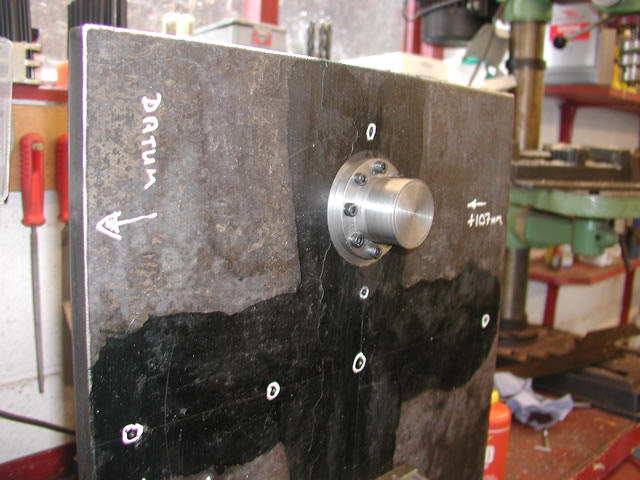
Tube plate with flange fitted.
Next job was to start on the what I guess you could call the steam dome but I am not sure if man hole might be a more accurate name. This was produced from two pieces of flame cut plate.

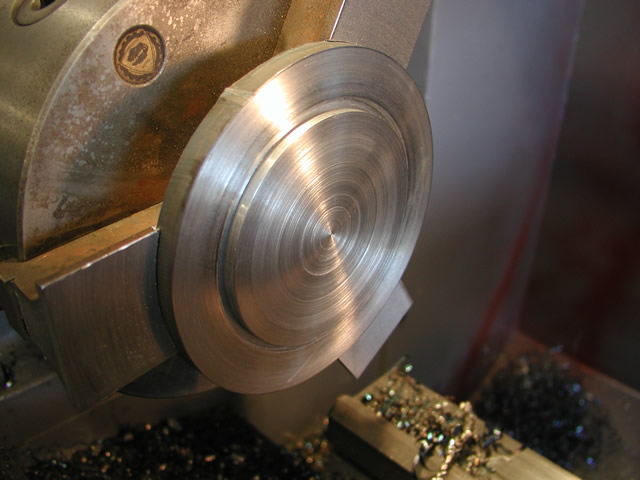
Turning the body
Turning the cap
Once again I mounted the body and cap in the mill found the center using a CO-AX then using the PCD function on the DRO drilled the screw holes
Match drilling the cap and body
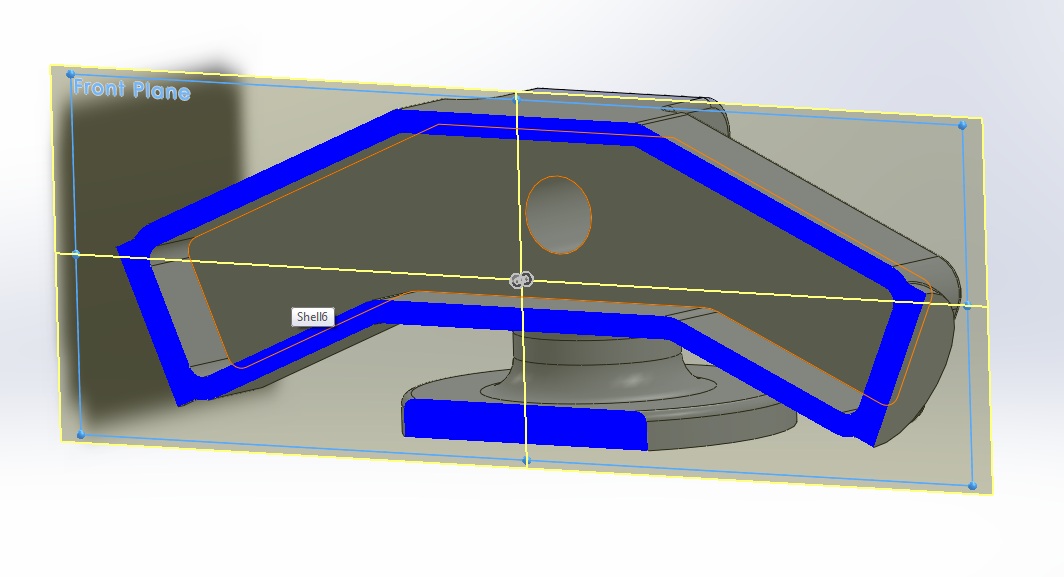
The drawing then called for the inside of the dome where it protrudes into the boiler tube to be machined away in a 10" or so diameter. Normally this would be done on the mill using a fly cutter. In this case I did not have one big enough so though it would be an ideal job for my Tormach CNC mill. Due to a variety of sad stories this would be the first time I had used the mill in anger.
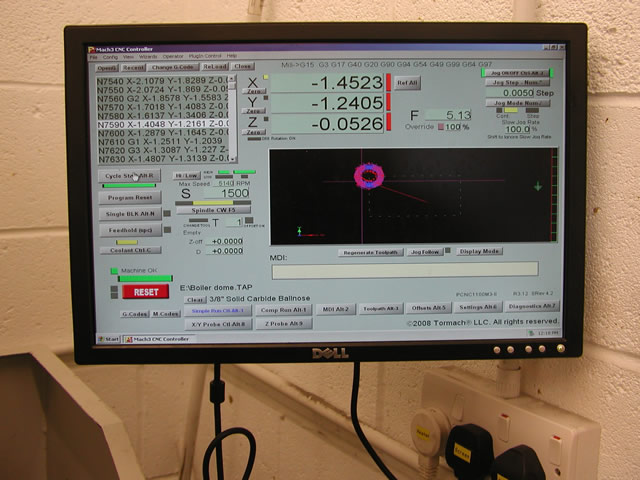
Mach 3 Gcode
So I drew up the dome in Solidworks imported it into Sprutcam chose my machining strategy and generated the G code
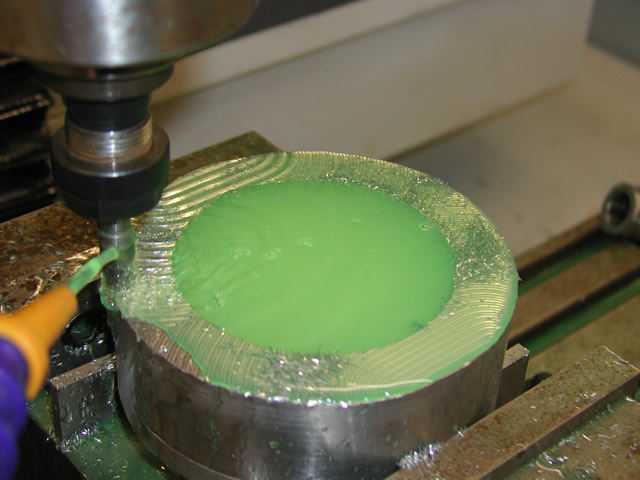
Milling the profile
Then after once again finding the center using the CO-AX i set up a 3/8 ball mill and pressed run. Much to my surprise I got a passable profile out at the end of it.
Cut away complete
This as I say was my first attempt at CNC milling and although it will be fine for something that will be welded in a tube and never seen again. It was far more of a learning exercise than I expected. For a start I should have taken most of the material out using a roughing cutter. Then probably completed the profile with the ball mill over say the last 30 thou. As it was I had the cuts set up as 15 steps of depth and a 50thou step over horizontal and it took ages.
Admittedly the tool data recommended 5000 RPM and 20" a minute feed but I chickened out of that and used 2000 RPM at 5"/m. Which although did the job added to the time obviously. Then there was the finnish issue I am not clear how a concave surface is produced with a smooth finnish. Obviously its loads of small increments but that can only be at the finnish point. Using that from the start would take days. There is a command called scalloping which I think probably has some skin in the solution but that will be for another day and another profile
Last piece I need for the boiler maker was the steam take off and safety base plate. Just a short bit of laser cutting and some machining on the bridgeport.
I now need to start getting some of the fittings i need together. First off were the two steam turrets. These are slightly unusual as they were cast from RP'd wax's but with a hollow inside. This is the flirt time I have attempted it and surprisingly trey came out fine.
Section through Solidworks drawing
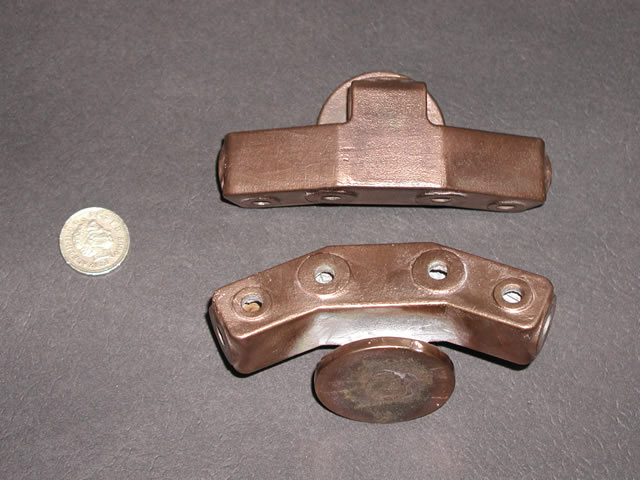
Completed castings
In real life the castings were painted but they have turned out so well I think i will leave them as is with a bit of polish to add some bling to the boiler outline.
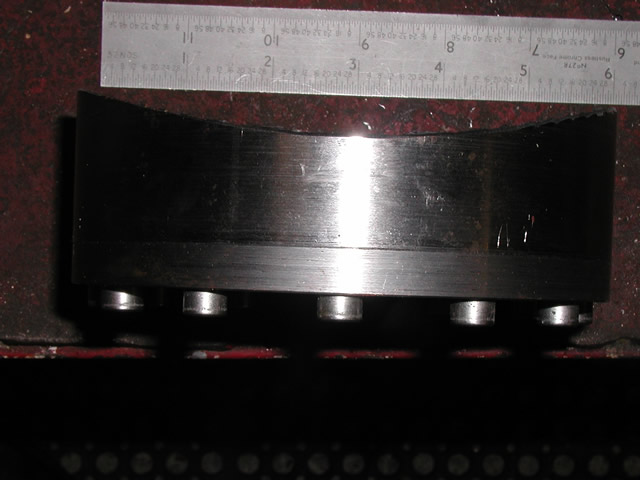
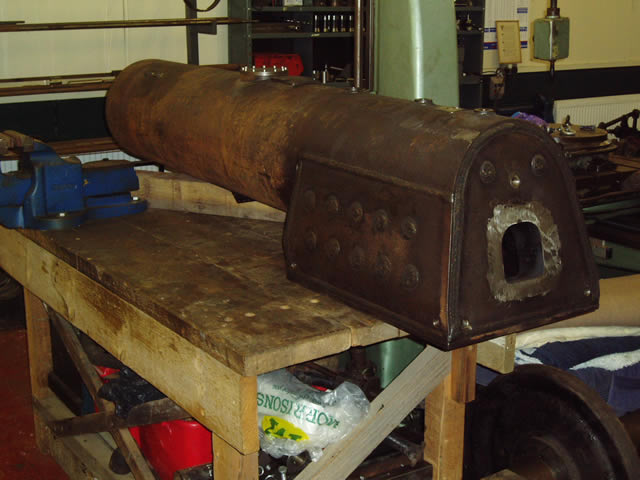
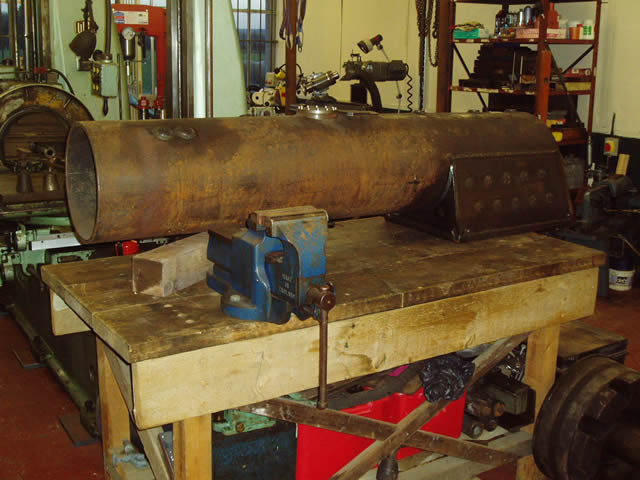
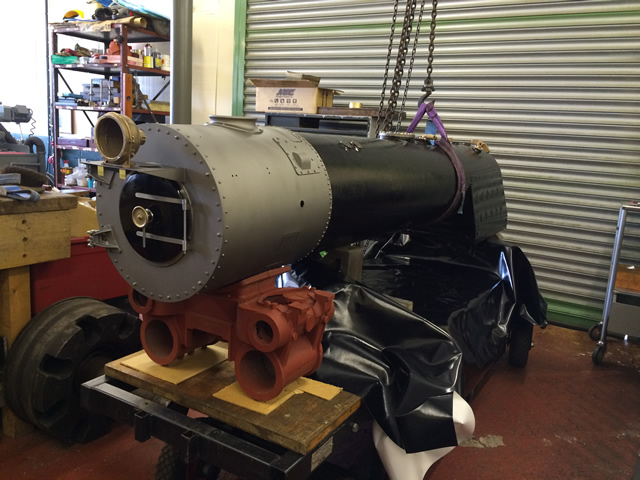
As promised Tony has completed the boiler for the end of 2013, its a beat as you can imagine . !/2 wall barrel 13.5" OD and the whole thing is a smidgen under 6ft long. I am guessing it must be a third of a tone in weight as there are some very heavy section plate in the design.
Below are some snaps of the boiler in John Dunn's workshop, John is doing some work on the smoklebox for me and we are going to rivet up the smoke box together as evolution has not grown the second pair of hands i need to rivet easily.
The boiler is a bit of a combined effort my contribution being only i had to put my hand in my pocket. The design was done by Andrew MAthews in Australia. The construction and mods to suite UK pressure vessel requirements was done By AJB engineering who many will know in the UK is a purveyor of fist class steel boilers. His details are on my links page.
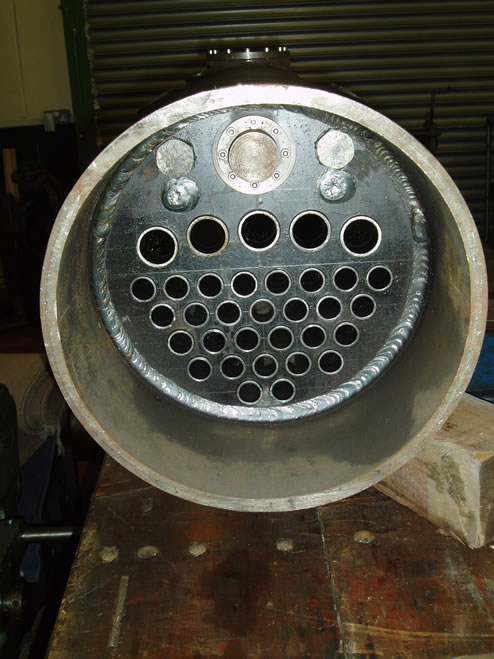
The Flange for the steam collector was left solid to make it easier to seal for the test. There is a pipe to fit into this for steam collection. I also have to work out a viable front end manifold for the superheaters and throttle but plenty to do for the moment
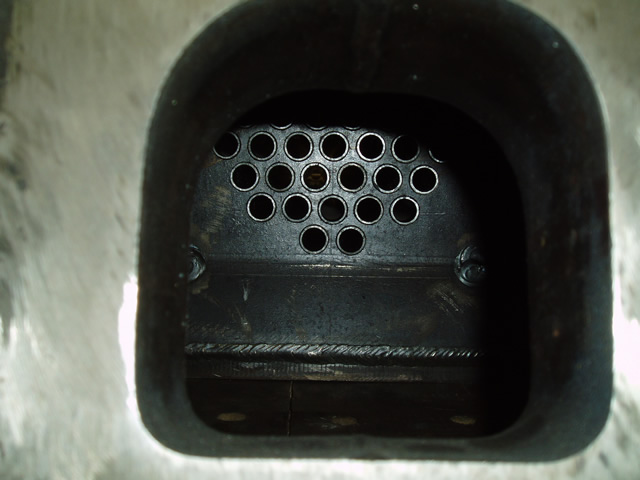
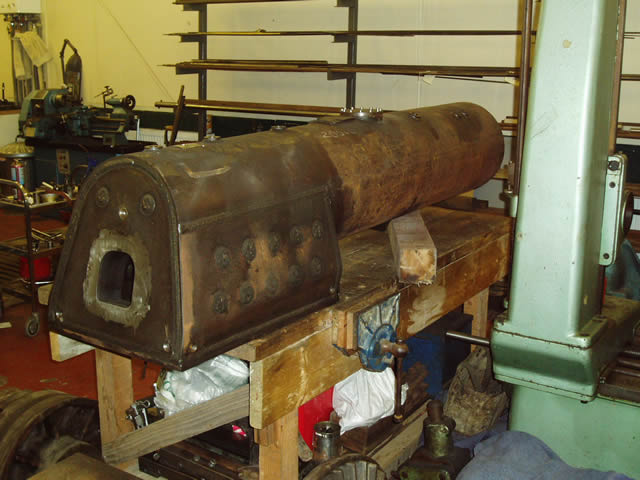
Things always look different on paper but the obvious thing to note on seeing it in the flesh is the size of the fire box. I think i am going to need some pretty long shovels to fire into the corners !
As I intended showing the boiler at the Harrogate ME show there was a lot of activity to get it into some sort of shape for the show.

Base of steam valves
Throttle bracket
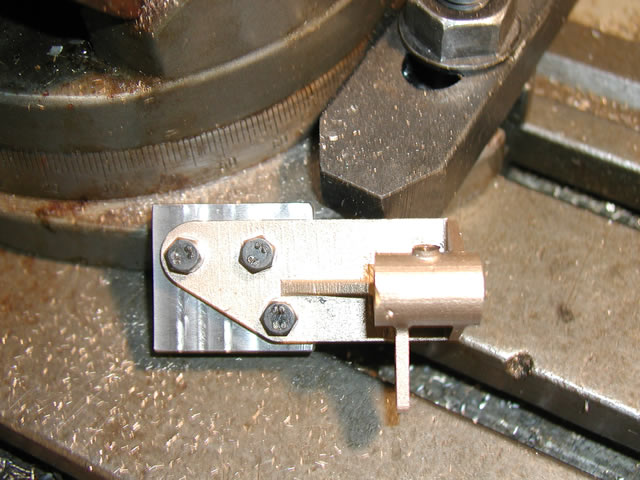
Fitted to block ready for welding to boiler
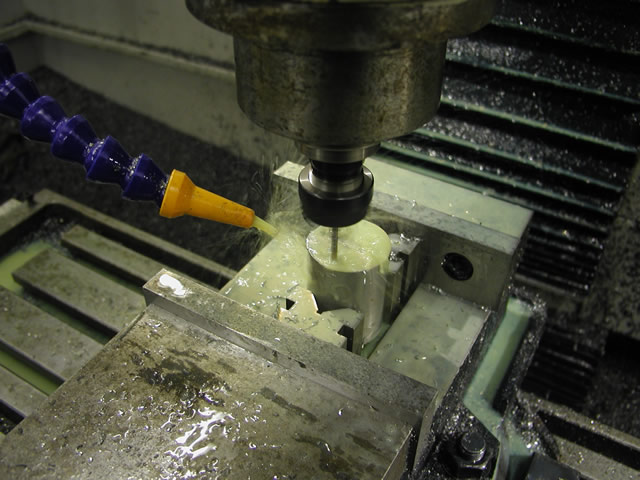
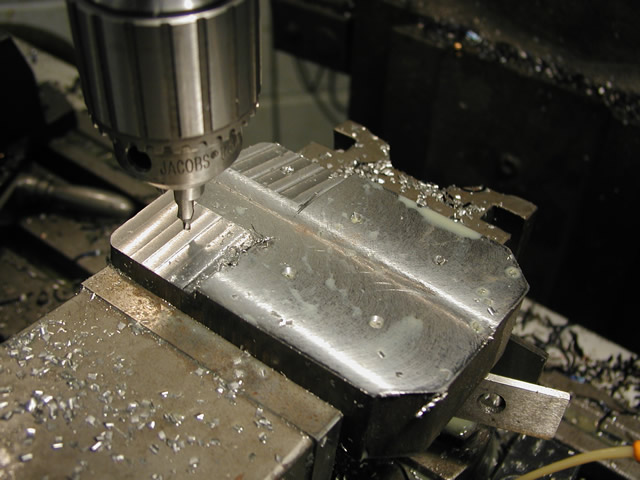
CNC'ing concave face on spacers for turrets
Machining bottom of turret

Turrets fitted to blocks ready for welding to boiler
Boiler and smokebox nearly ready for Harrogate.
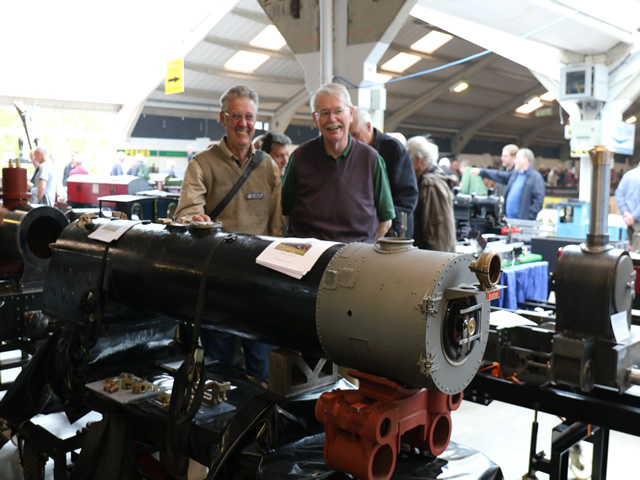
Garry Gillam and myself in front of the boiler on show at Harrogate. Garry who is from Australia is building a near museum quality Victorian Railways R class 4-6-4 in 5" gauge. Another product of the Springburn works, that is a scratch build of superb quality.
Currently we are working on boiler valves and attachments, to get both steam out and later water into the boiler. Lately this has been work on the turret valves. The valves started off as 3D drawings and as only a very small number are required they were printed in wax.
.jpg)
Wax turret valves
The valves were made in two ways where the valve just closed onto a solid face they were cast as a solid piece with no internal porting cast in. Where internal porting was required they were cast in two halves, as it turned out i forgot that they could just as easily have been cast in one piece. It is sometimes hard to get your mind around 3D printing of voids especially internal voids.
.jpg)
Globe valves
The globe valves were are from the printed halves as can be seen there is no parting line on them and you would not know they had not bee cast in one piece. The big globe valves run are used to run steam from the turret down through the injector starting valve to the injectors.