
PLatE Work
The rear cab support had a challenging piece of bent angle fitted round its edge. I had been at this a few times but had not made much progress in getting a suitable shape. Having seen this wheeze at Harrogate ME show I though I would give it a whirl on the Tormach.
This involved cutting the shape out of solid then flipping it over and machining the back side down to the correct thickness. This was made a little more time consuming than it could have been if I had a more suitable piece of metal to hand. But I was keen to extend my repertoire on the mill so I was looking for jobs to learn on.
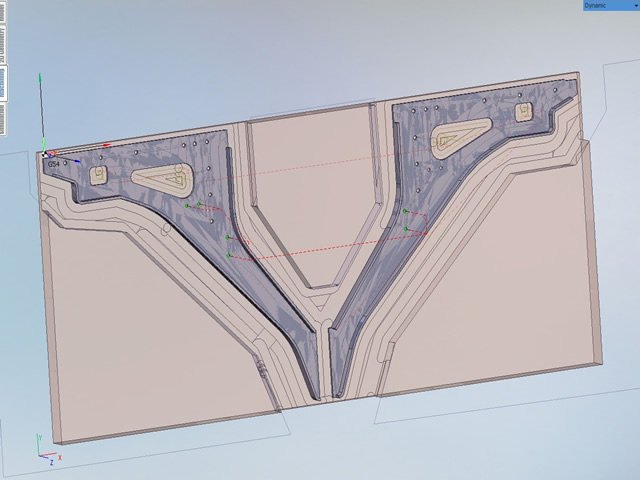
First job was to draw the plate up in Solidworks

From there I extracted the piece I wanted to machine
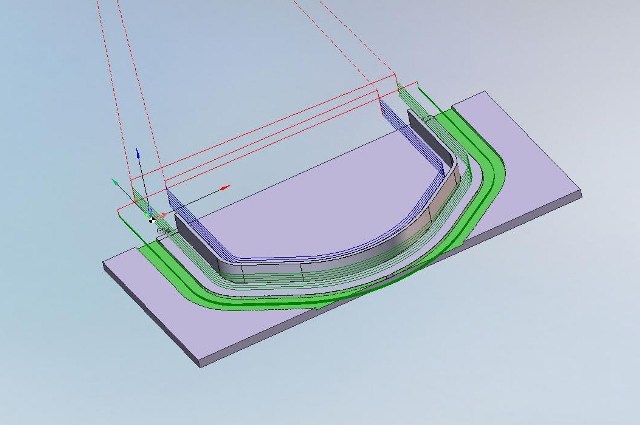
Then into Sprutcam to produce the tool paths and Gcode.
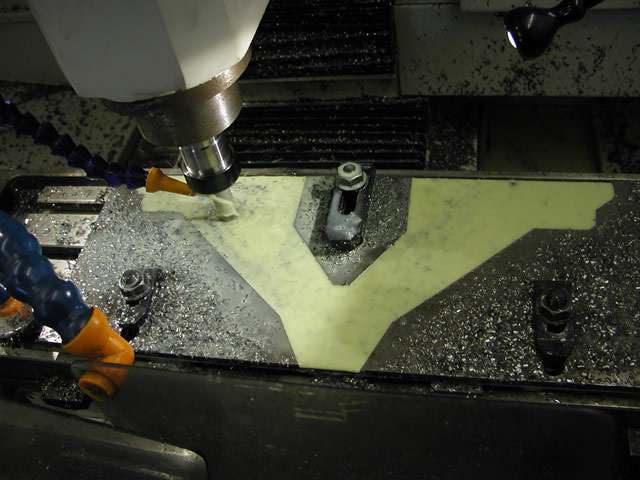
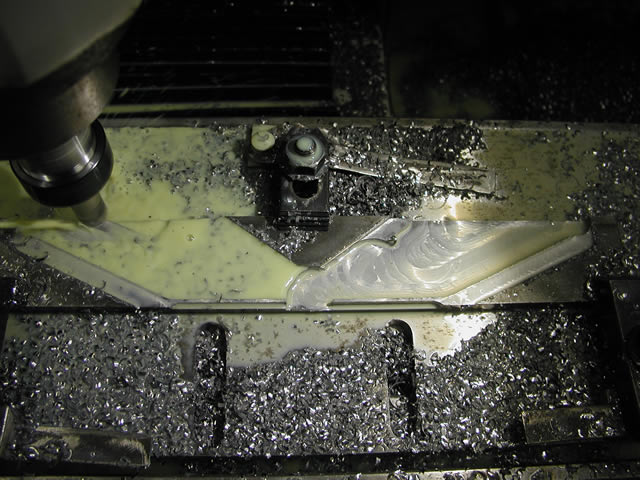
First job was to rough out the shape with a ripper mill
 #
#
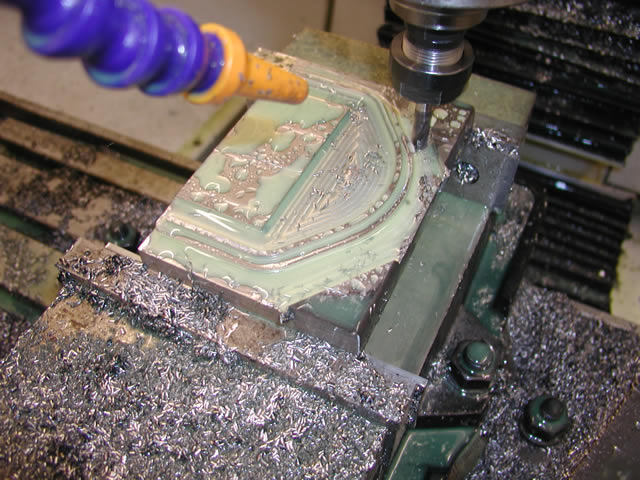
Then all the faces were left with 0.01" for cleaning up
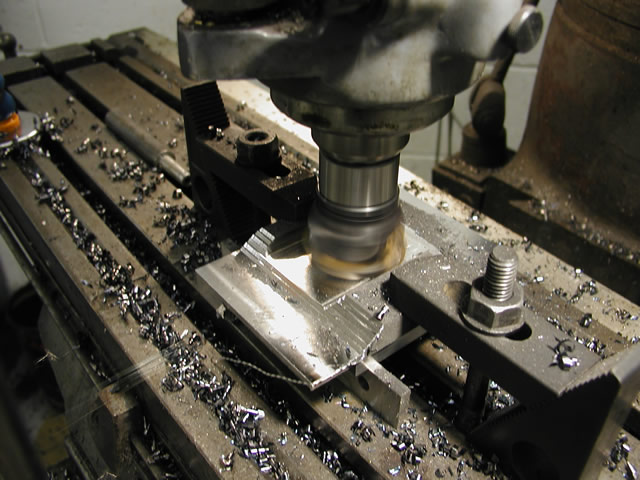
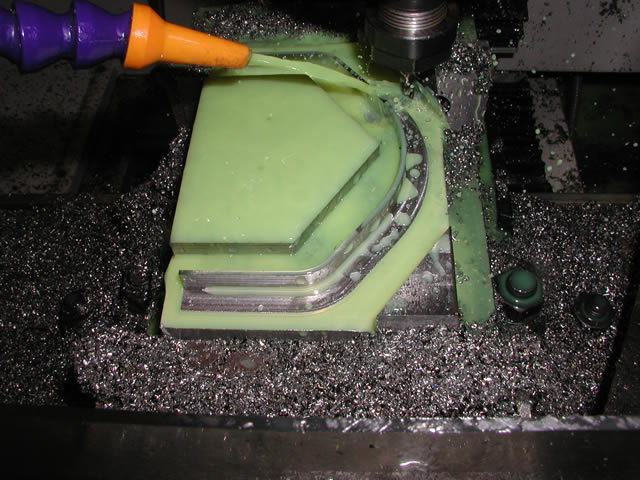
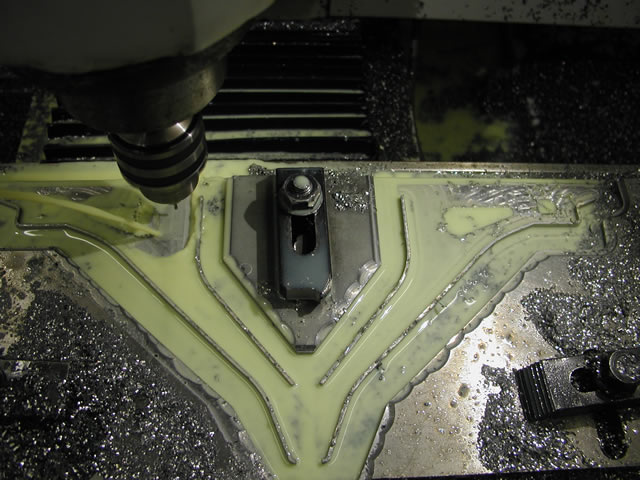
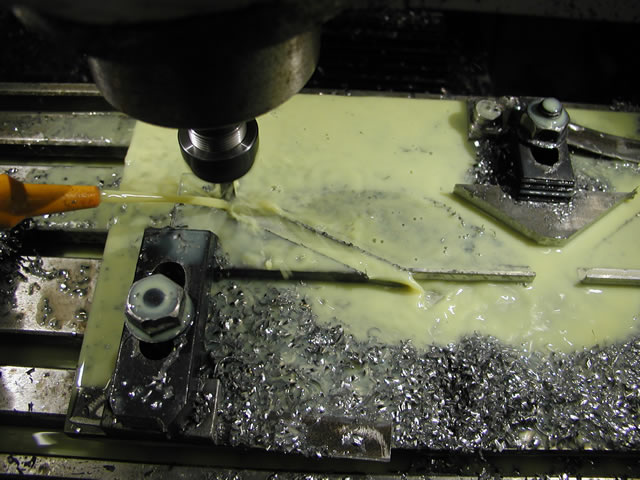
Now for some serious hacking to get the back face to size
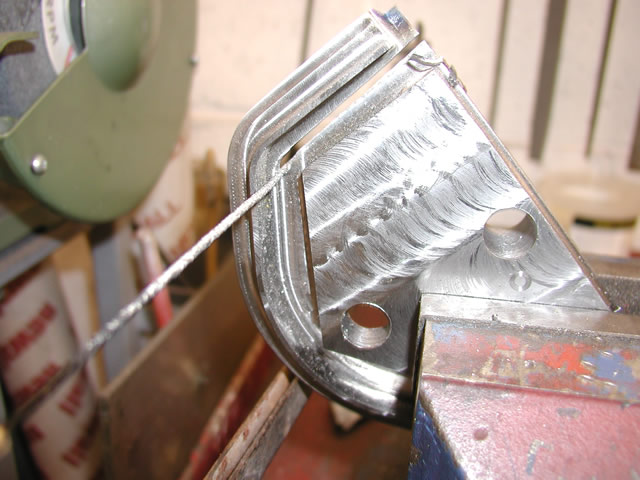
Nearly there and the basic shape was cut free using a rats tail saw blade
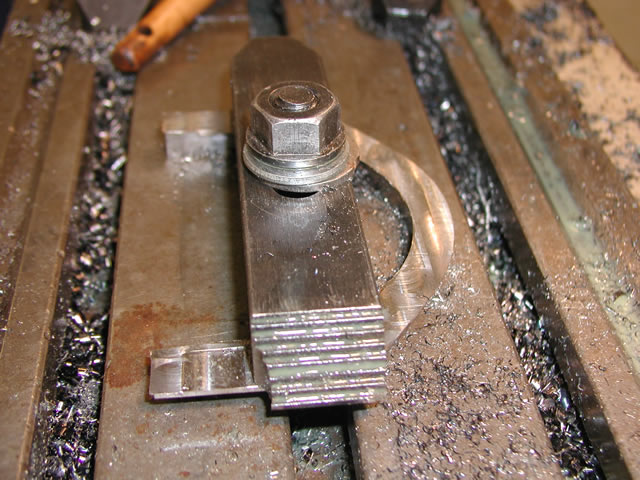
Then back to the conventional mill to face up the back
Then offer it up to the plate drill through from the plate holes and bolt up
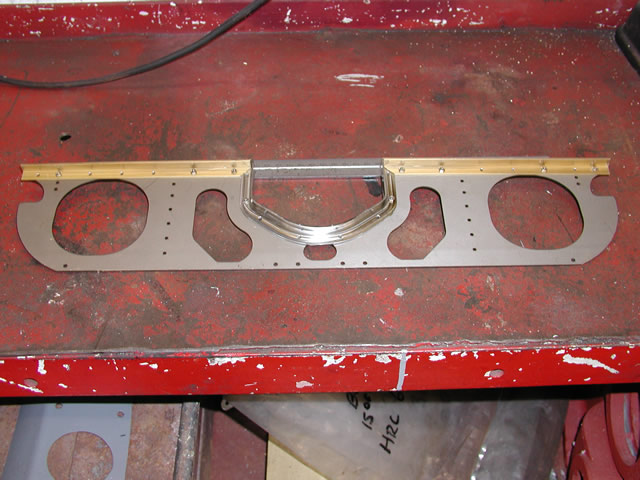
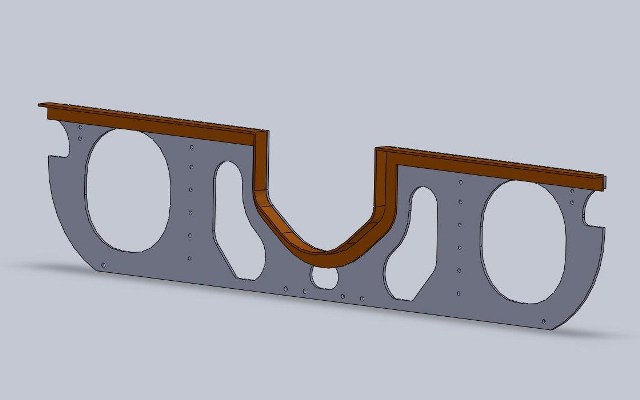
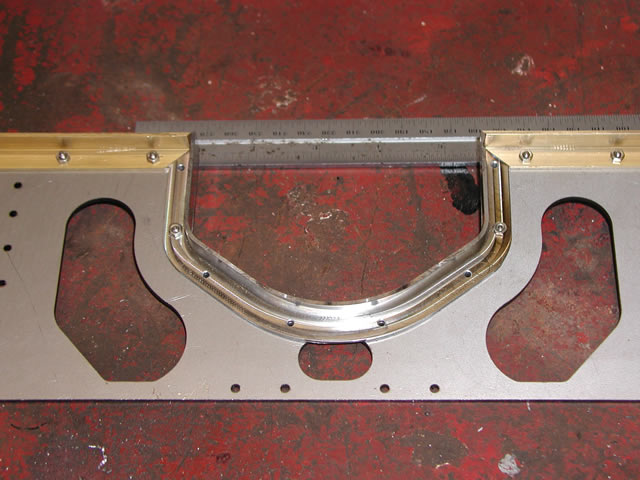
The completed support plate
So not a bad start the shape was perfect and fitted with no discernable difference to the plate profile. I was a bit ambitious with the stock left for holding it to the original material as once I got near the correct thickness it started to pull and distort. Next time I will leave 20thou and see how that works.
Next job for the CNC was some crazy shaped brackets that support the cab. I had ideas of laser cutting and bending these but with the purchase of the Tormach saw another opportunity to make it pay.
Sprutcam project
First roughing operation

Shape starting to show through
Brackets done ready to cut out
Next little job was another couple of wings again probably just as easy to make from laser cut parts and some angle but it all helps with my CAM competency.
Basic shape roughed out with a 3/4" two tip milling cutter
Next job was to use an 8mm cutter to get in where the 3/4" feared to tread.
 #
#
Basic shape complete next job was to spot the holes and cut form the base material

Basic shapes done further angle to add to the other side and holes to drill