
Locomotive suspension
First job I did on the suspension was to prepare the springs for the drivers and the trailing truck. Although they were different thickness both springs were made to the same radius 77". This is a very shallow radius and initially my plan had been to mark them out on the stock and then roll them to the radius. However as the stock was 3Meter lengths as fast as I rolled the radius in the dammed thing straighten out again.
So I ended up cutting the springs to length and forming as the last operation. Spring making is hardly my favorite pastime as it is hardly (use your own cliche).
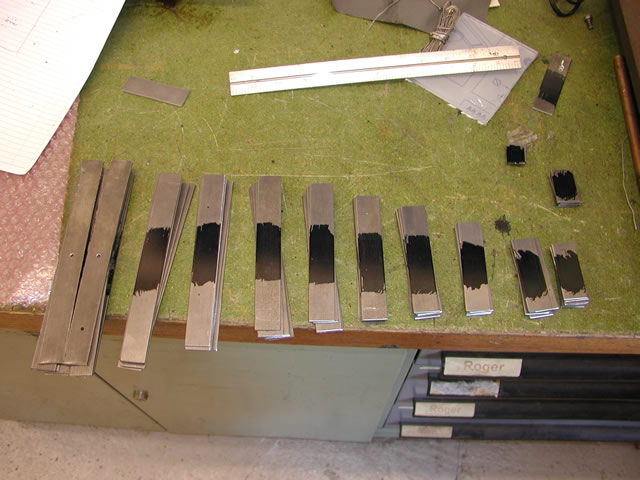
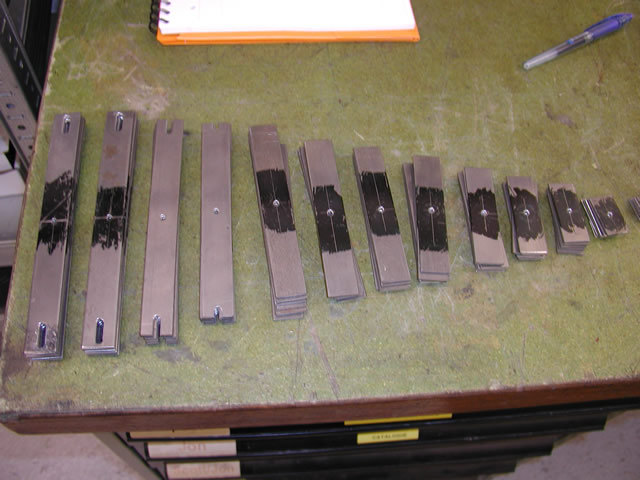
First job was to cut the spring leaves to length and blue for marking out Above are the 13 packs of leaves to make up the six main driver springs

Next job was to mark out a master leave for drilling
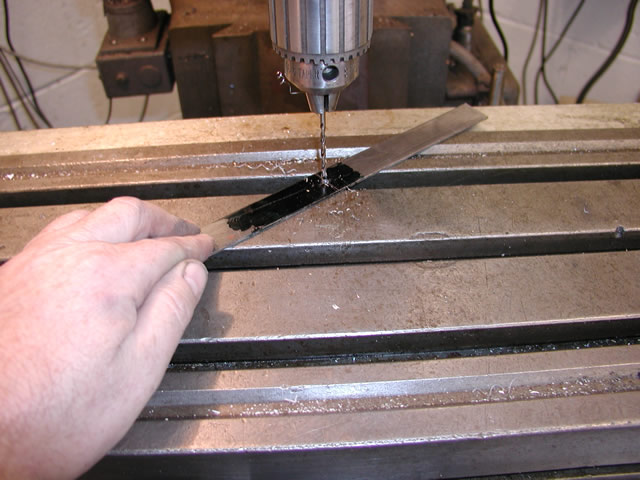
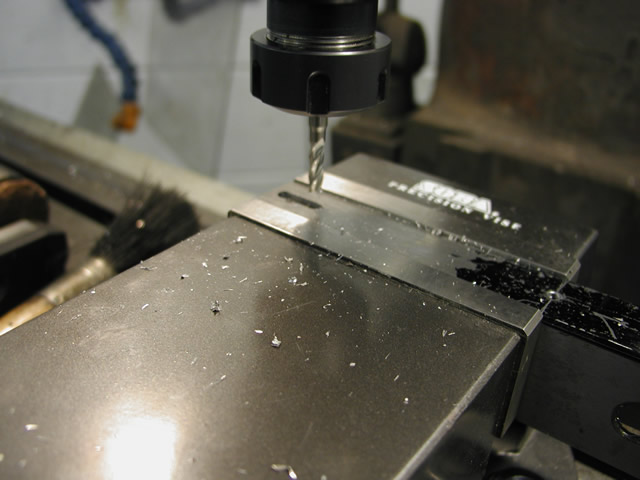
To start I did a trial run on the using the mill
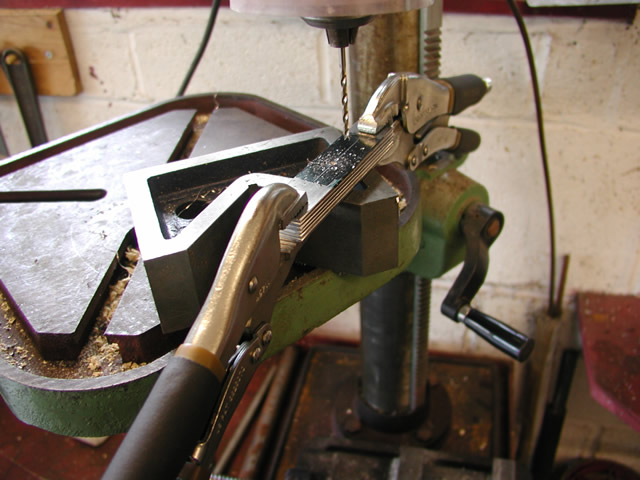
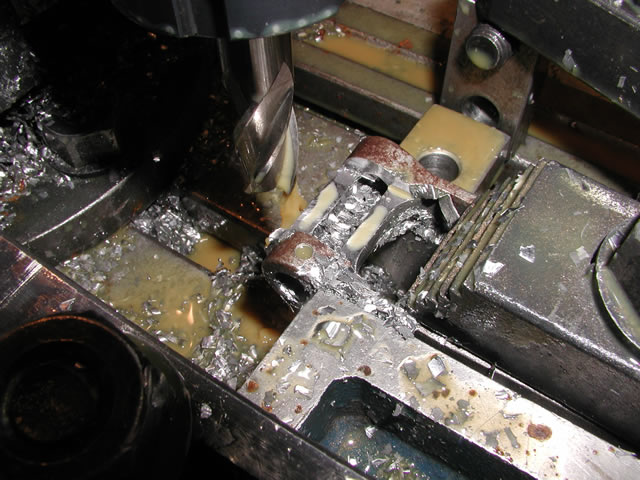
After that each individual pack was clamped and the center hole drilled through
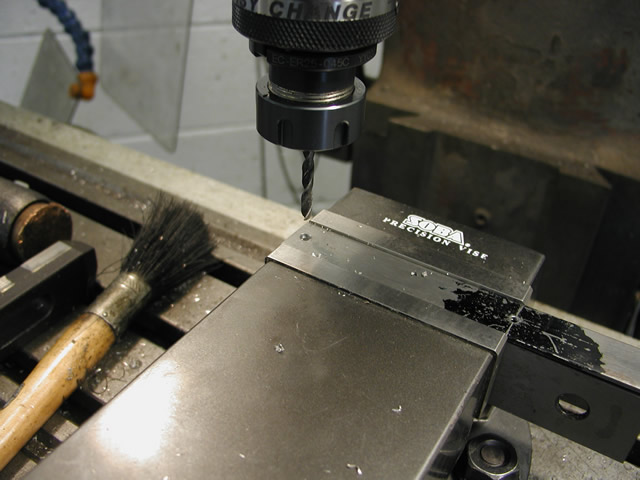
Next came slot milling the saddle cutouts
After drilling the slot was milled
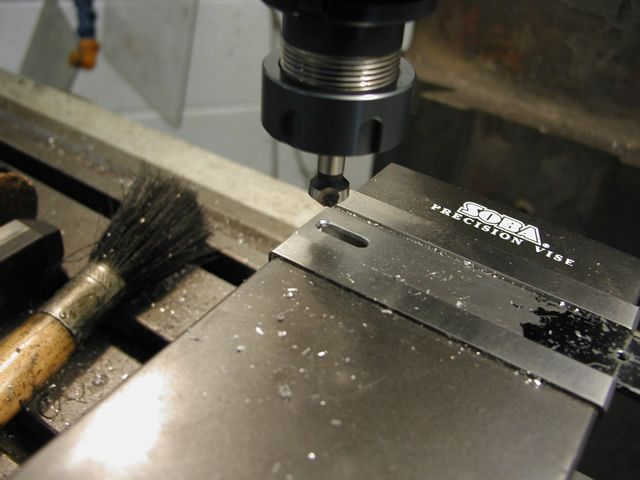
Then i used a chamfering tool to clean up the slots. Good job i had an easy change chuck.
Pack ready to bend

The 77" rad hardwood former a few taps with a hammer and the curve was in
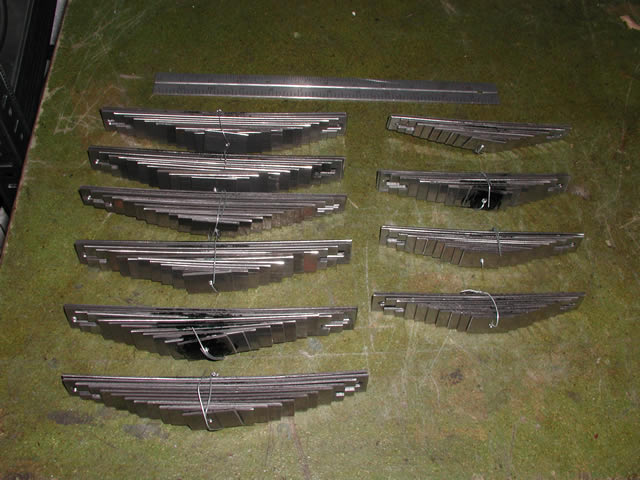
After forming all the springs were wired together ready to go for heat treatment. On the left are the main driver springs and on the right are the trailing truck springs
While I was under the weather I had the suspension balance beams CNC'd by Paul as I was not fit enough to do it myself. Once delivered I fitted oil-lite bushes to all the bores and then where I could not get the correct length machined them down to fit.

All the balance beams ready to machine

Machining oil-lite bush to size
Next job was to start on the spring hangers and pins. The hangers started out as rapid prototype wax's that were then cast in steel by Leicstercast. They were then normalised and have hung round the shop for a couple of years.
The basic hanger as cast
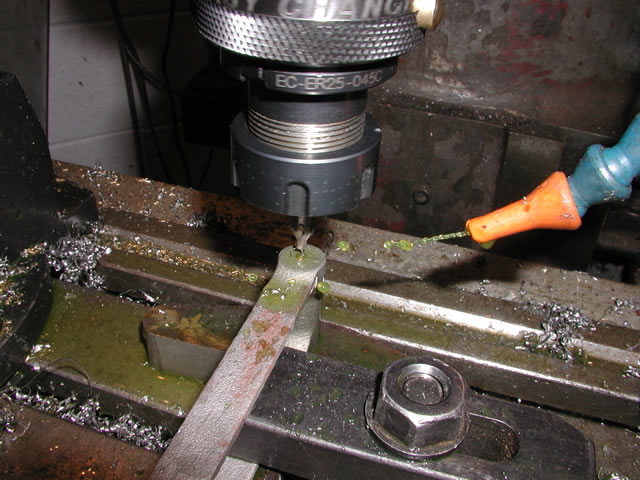
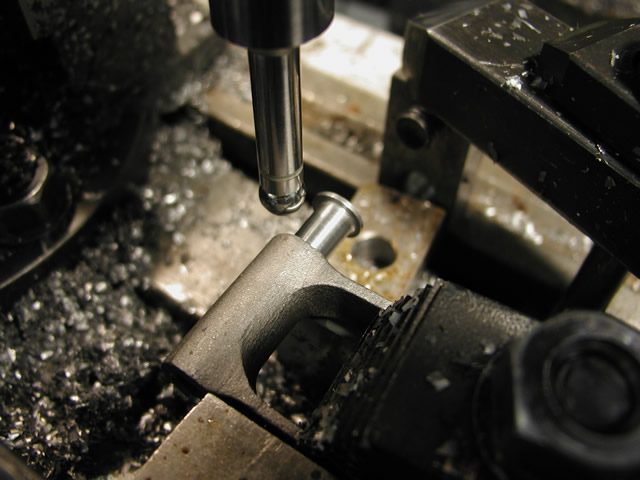
First job was too edge find the center of the boss and drill it ready for a 8.5mm hole
Next the hole was reamed out to 9mm
This then completed the first operations on the hanger. As i was going to use the cross pin as part of the setting process. The pins were then turned on the lathe. As the DS&G lathe has a handy 6 station stop gizmo it made machining the pins a nice easy job
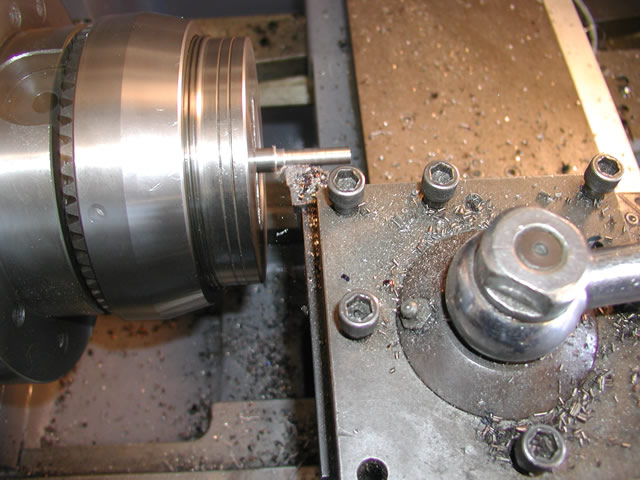
I had also been able to get myself a collet set and chuck off Ebay so gave it a spin on this job as well
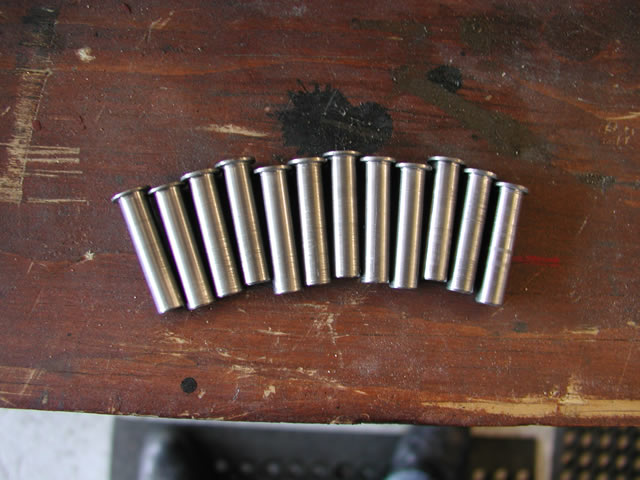
All pins completed
Once the pins were ready I fitted one to each hanger and used the electronic edge finder to work out where the center was in both the X and Y direction.
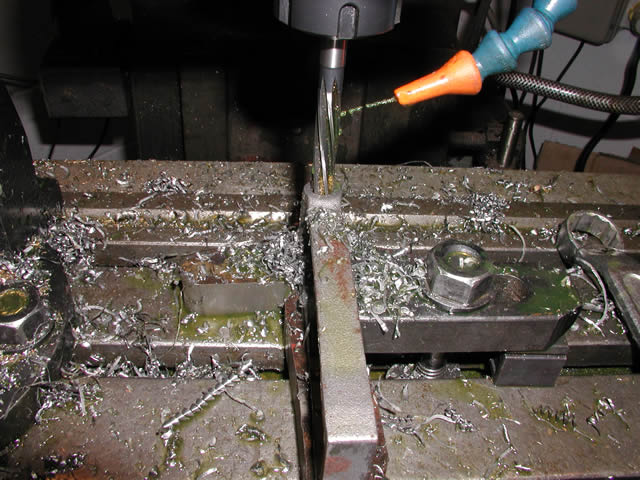
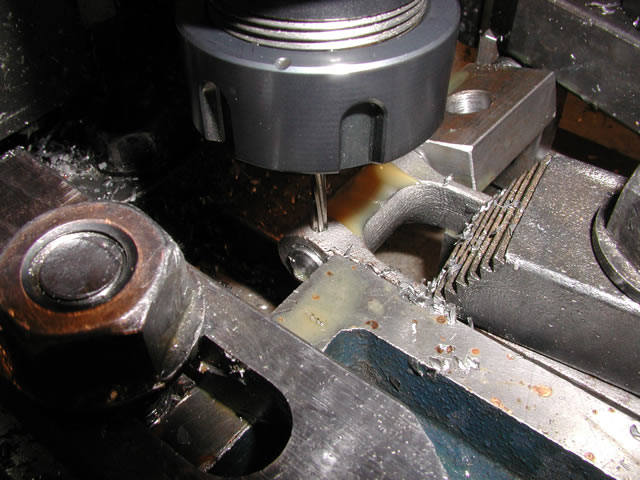
Then holding the pin in place I drilled a cross hole to secure the pin
The hole was then reamed out to 3mm to take a 3mm roll pin. This will secure the cross pin in place and prevent it rotating in the balance beam. Hopefully then the only wear should take place in the beam bushing.
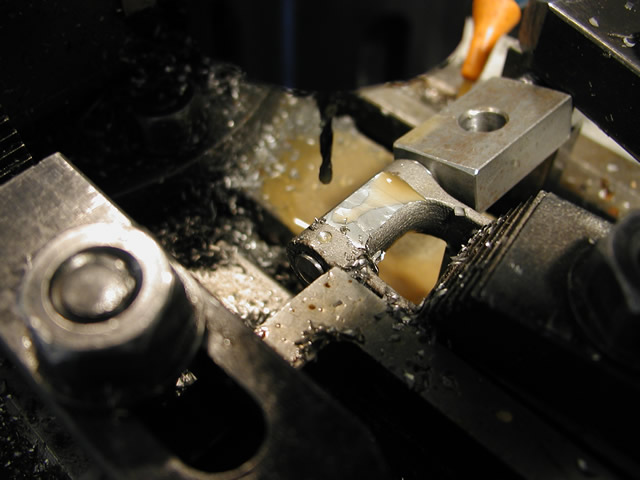
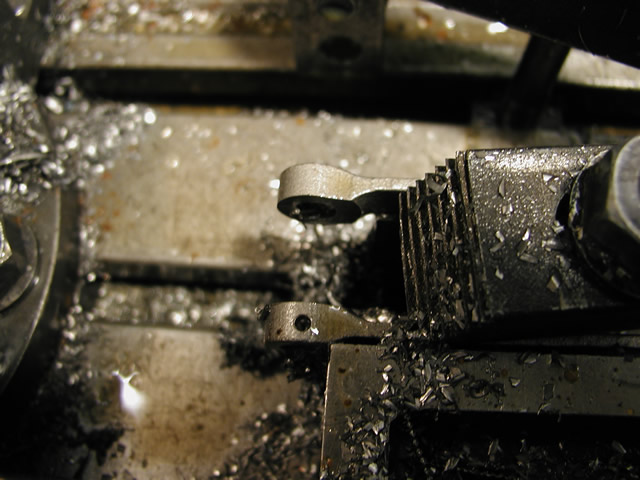
Once the cross hole was drilled it was just a case of machining out the spare material
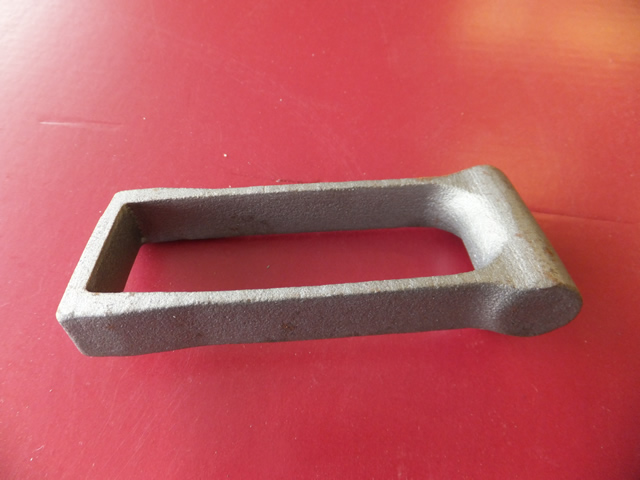
Ending up with the completed end only now needing some fettling and chamfering to tidy it up
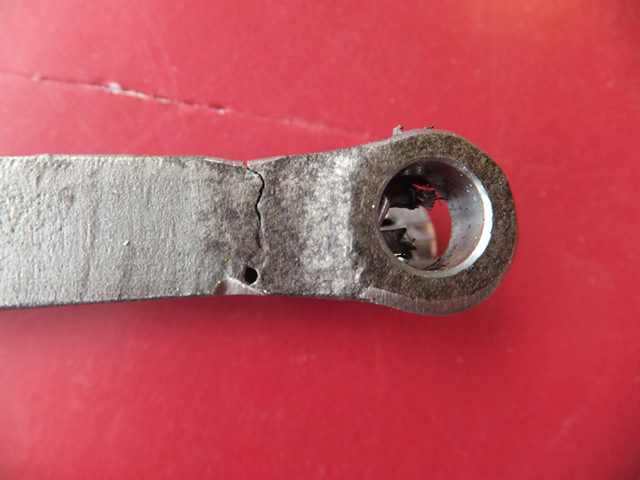
Now for an interesting conundrum each hanger went through all the operations listed with the different set ups. Yet I only noticed when it came to fettling this one up that the end had not cast properly and was nearly cracked all the way through.
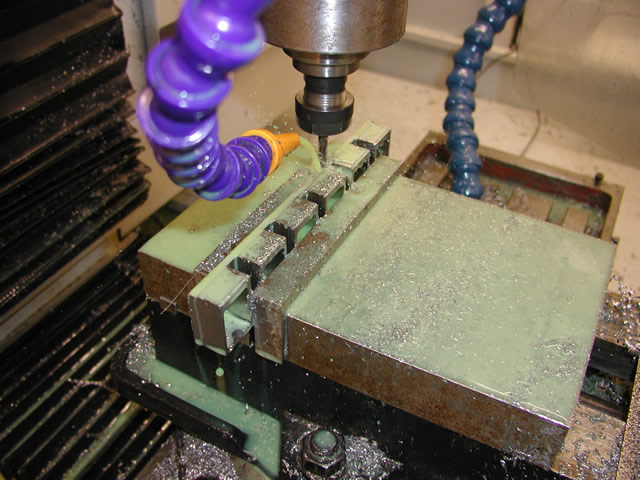
Latest job i have been up to was producing the spring straps or buckles. In the past i have chain drilled then from the solid using a slot drill but as I had 6 to do this time I gave the Tormach a whirl. I drew the strap up in Solidworks then used the transition command to produce five more copies in Sprutcam to machine and generate the Gcode. This was a relatively simple job and would be the first where I had used the pocketing command
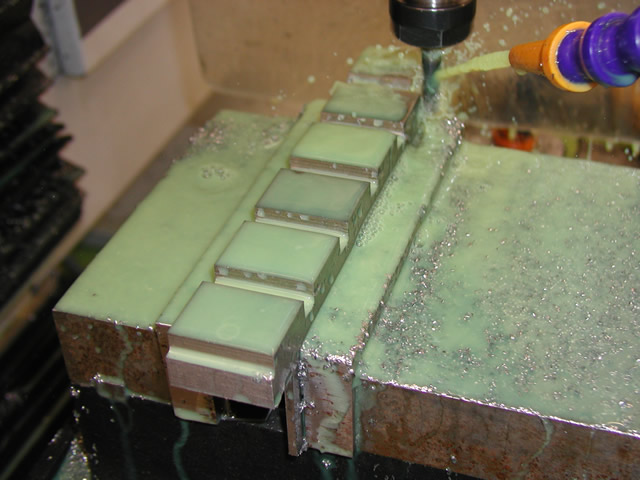
Roughing the outer profile

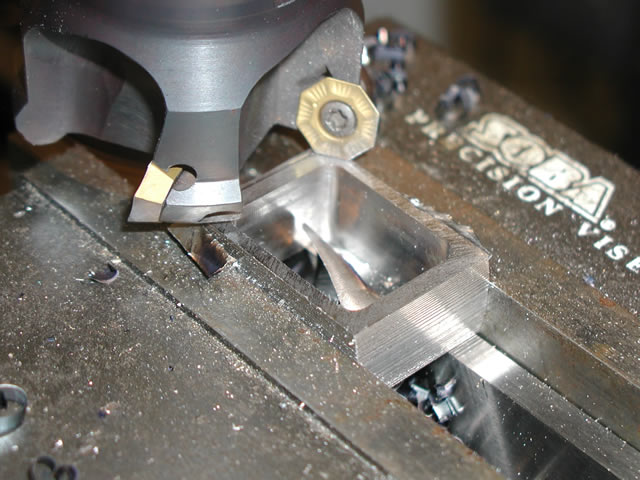
Pocketing the centers out
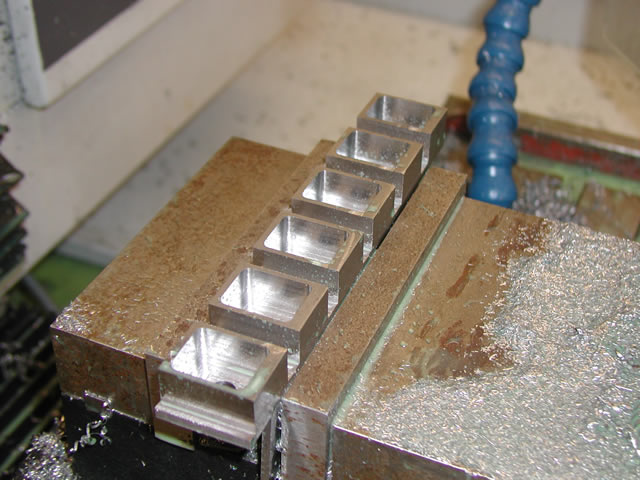
Clean up cut at 10though on all faces done time to turn on to the side
Roughing the convex profile
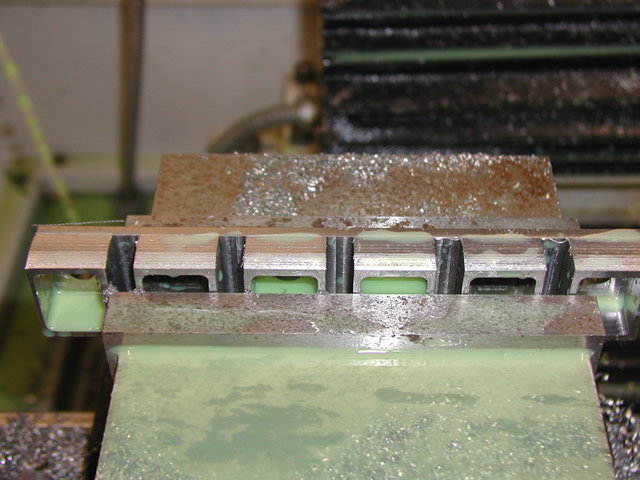
Clean up cut and profile done ready to split in to six
Convex profile produced by the CAM package
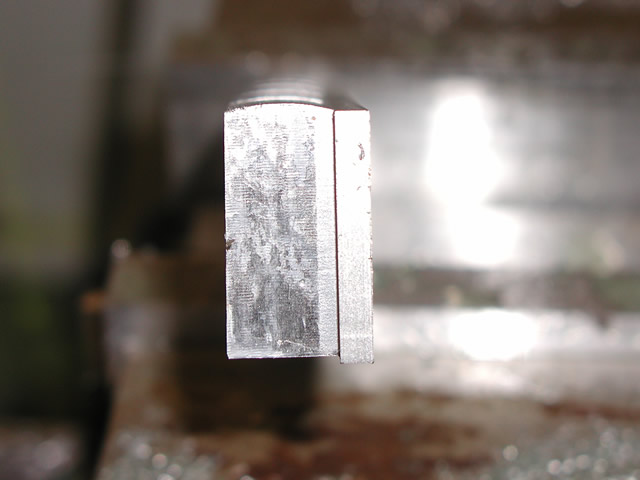
Machine down to the correct thickness
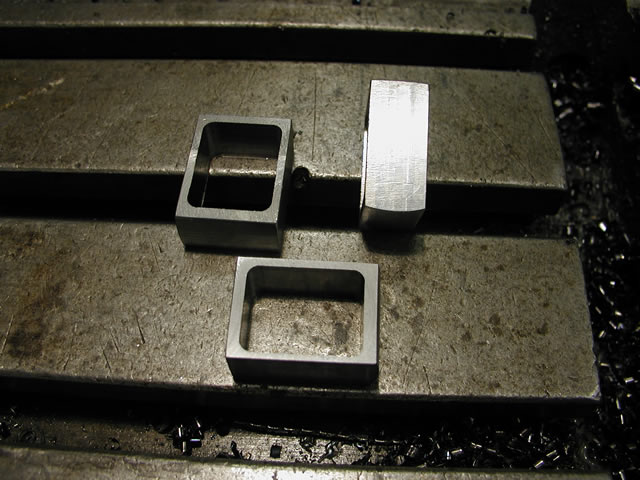
All done ready to file out the corners